DApp Tutorial: Creating a University Database
The following tutorial walks you through command lines needed to install and run the DApp tutorial Creating a University Database.
Note that these examples are based on using Ubuntu; other operating systems may require adjustments for installing the dependencies.
First make sure to install node-js version 5.10.0 or later. See download instructions.
Then install ganache-cli version 6.1.0 or later. See download instructions.
In general, installation via npm is:
npm install -g ganache-cli
Now get the code from this repo on GitHub, where this tutorial is built on version v1:
git clone https://github.com/computablelabs/dapp-universities.git
cd dapp-universities
git checkout tags/v1
npm install
In another terminal window, run the CLI for the Ganache blockchain emulator:
ganache-cli
That should display a TCP port on which Ganache emulator will be listening:
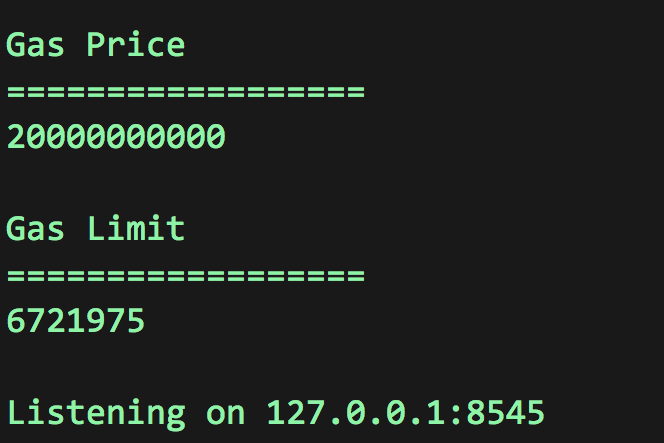
Note the port in the Listening on ... output -- which in this example is TCP port 8545.
Back in the other terminal with the DApp repo, copy the .env template:
cp .env.example .env
Then edit the .env file to paste in the address and port for Ganache.
In this example, the environment setting needed to run a websocket to localhost on port 8545 is:
GANACHE_URL=ws://127.0.0.1:8545
Next, run the DApp:
npm run dev
That should output a URL, which for this example is:

Load that URL in a browser window.
We're running this example an Ubuntu server on Google Cloud Platform, so its URL is http://35.197.28.157:3000 -- in other words, it has a public IP address, not the localhost address.
If you are running locally, use the 127.0.0.1 address instead.
If you're also running in on a cloud server, be sure to open the needed TCP port in your firewall rules -- in this case, opening port tcp:3000 in the GCP firewall rules.
At this point, you should see the UI for the DApp in the browser window:
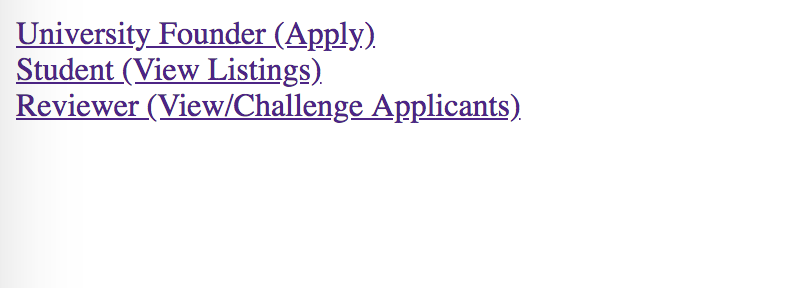
Select one of the three options. To start, let's select:
Click the first option on the Home Page. You will see the following:
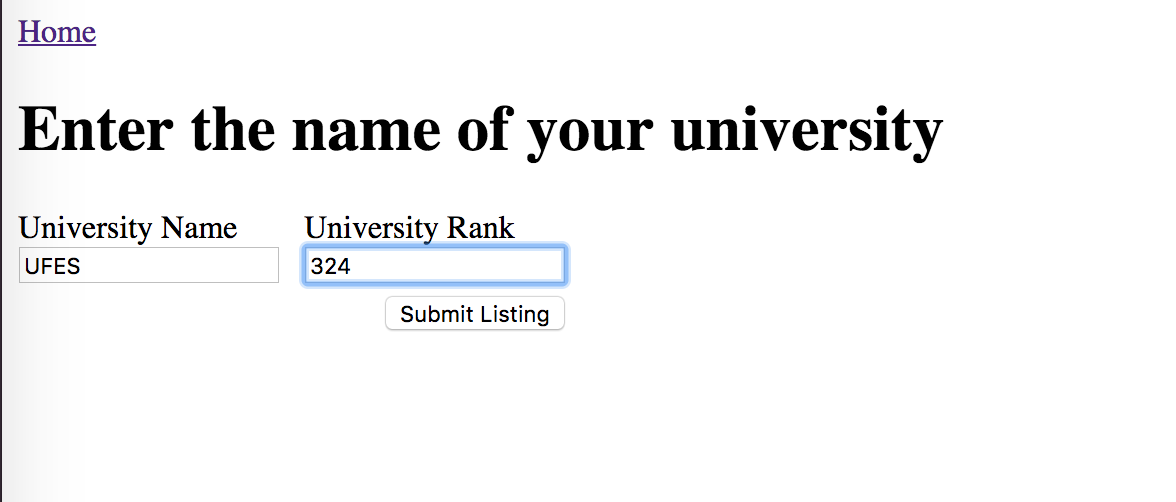
You can enter a name for a new university to add to the TCR.
In the example, shown the UFES name is added, with a rank of 324
Now check back on the terminal window for Ganache, and you should see several transactions scrolling in the log:
eth_accounts
eth_sendTransaction

  Transaction: 0xe45d1bc2a88e1db751557bd1107e767f08efc50b6c24944baacf8df76caa3357
  Contract created: 0xee7550bf8a4e3eb9589d0d52c9d106ac1e9de123
  Gas usage: 1209672
  Block Number: 1
  Block Time: Mon Aug 27 2018 17:27:58 GMT-0700 (PDT)

eth_getTransactionReceipt
eth_getCode
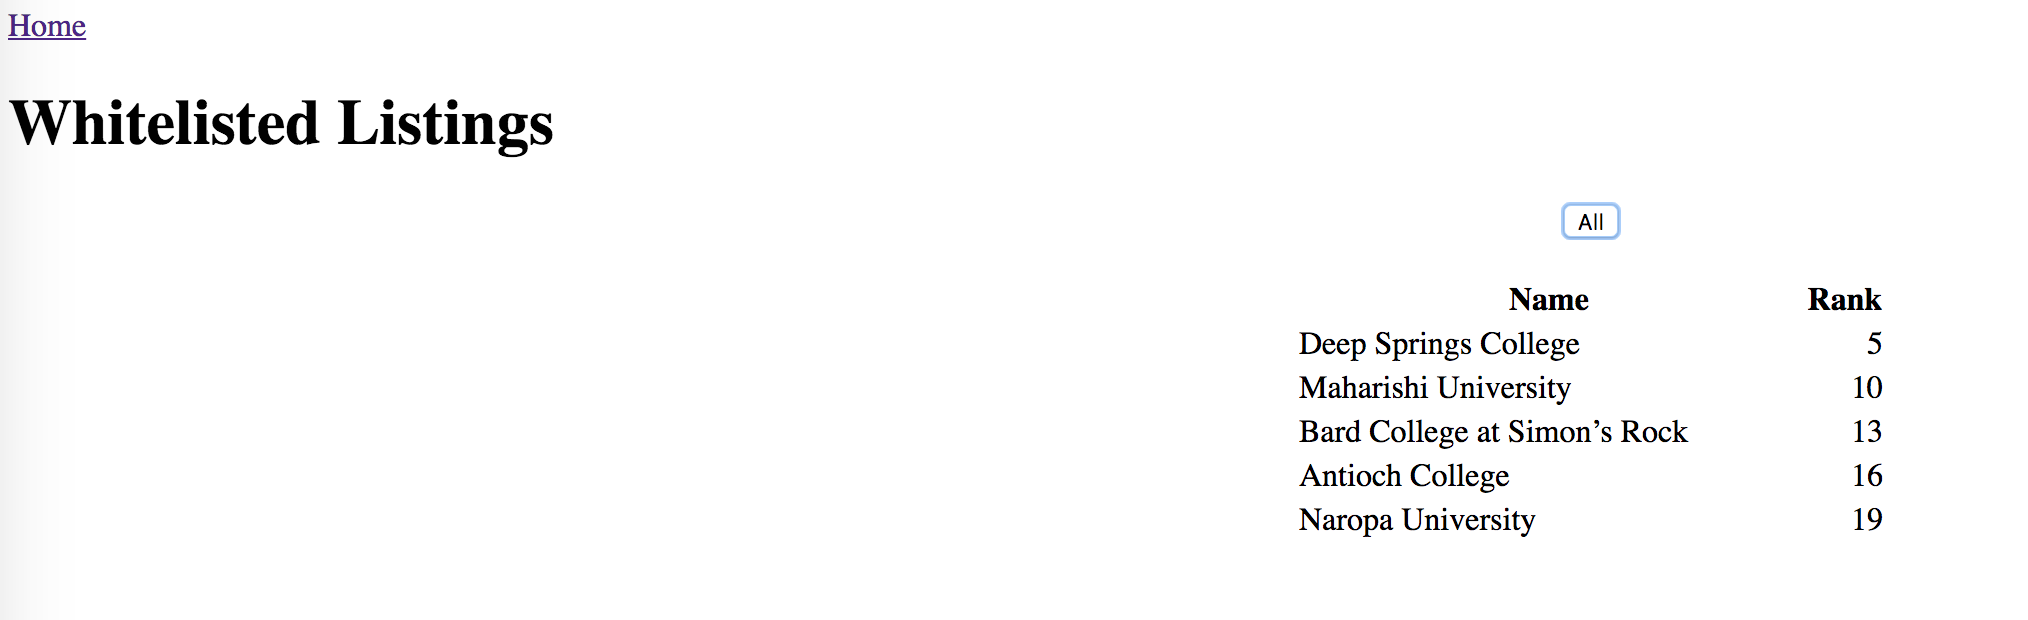
Go back to the Home Page. As a student, you would like to see all the universities listed. Perhaps you'd also like to see which are the top 5. You will see all the universities listed when you click Student:
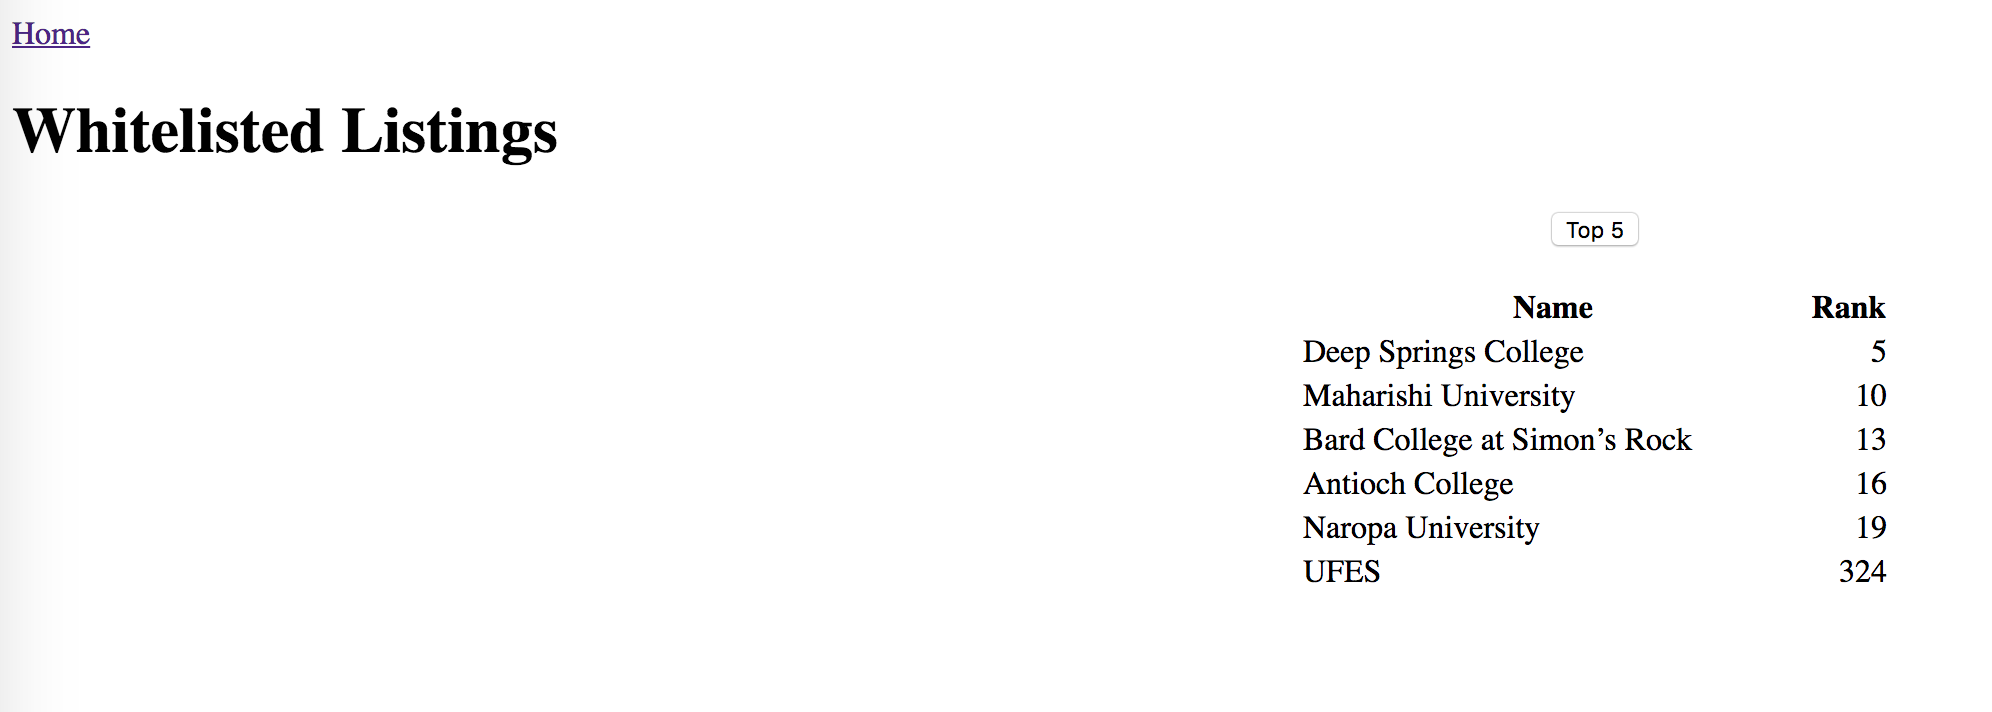
Note how the university added in the step above is in the listing! For this to be true, you have to wait 10 seconds and the listing needs to be unchallenged (see section below)
You can toggle the top 5 button to obtain a sorted list.
Go back to the home page. You would like to challenge a newly created university. Re-do the steps under University Founder, and now submit UFRJ as the university and 990 as the rank. Navigate back to the Home Page, then to the Reviewer page. You should see that listing with a Challenge button if you reached that page within the 10 seconds challenge limit.
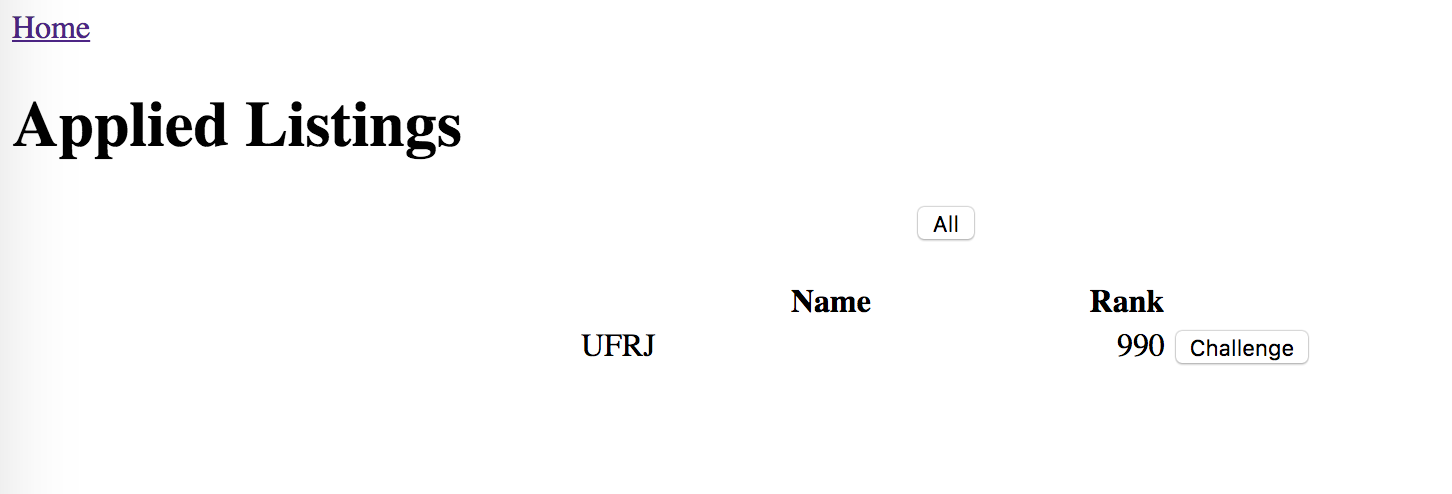
That candidate will not be in the whitelist.
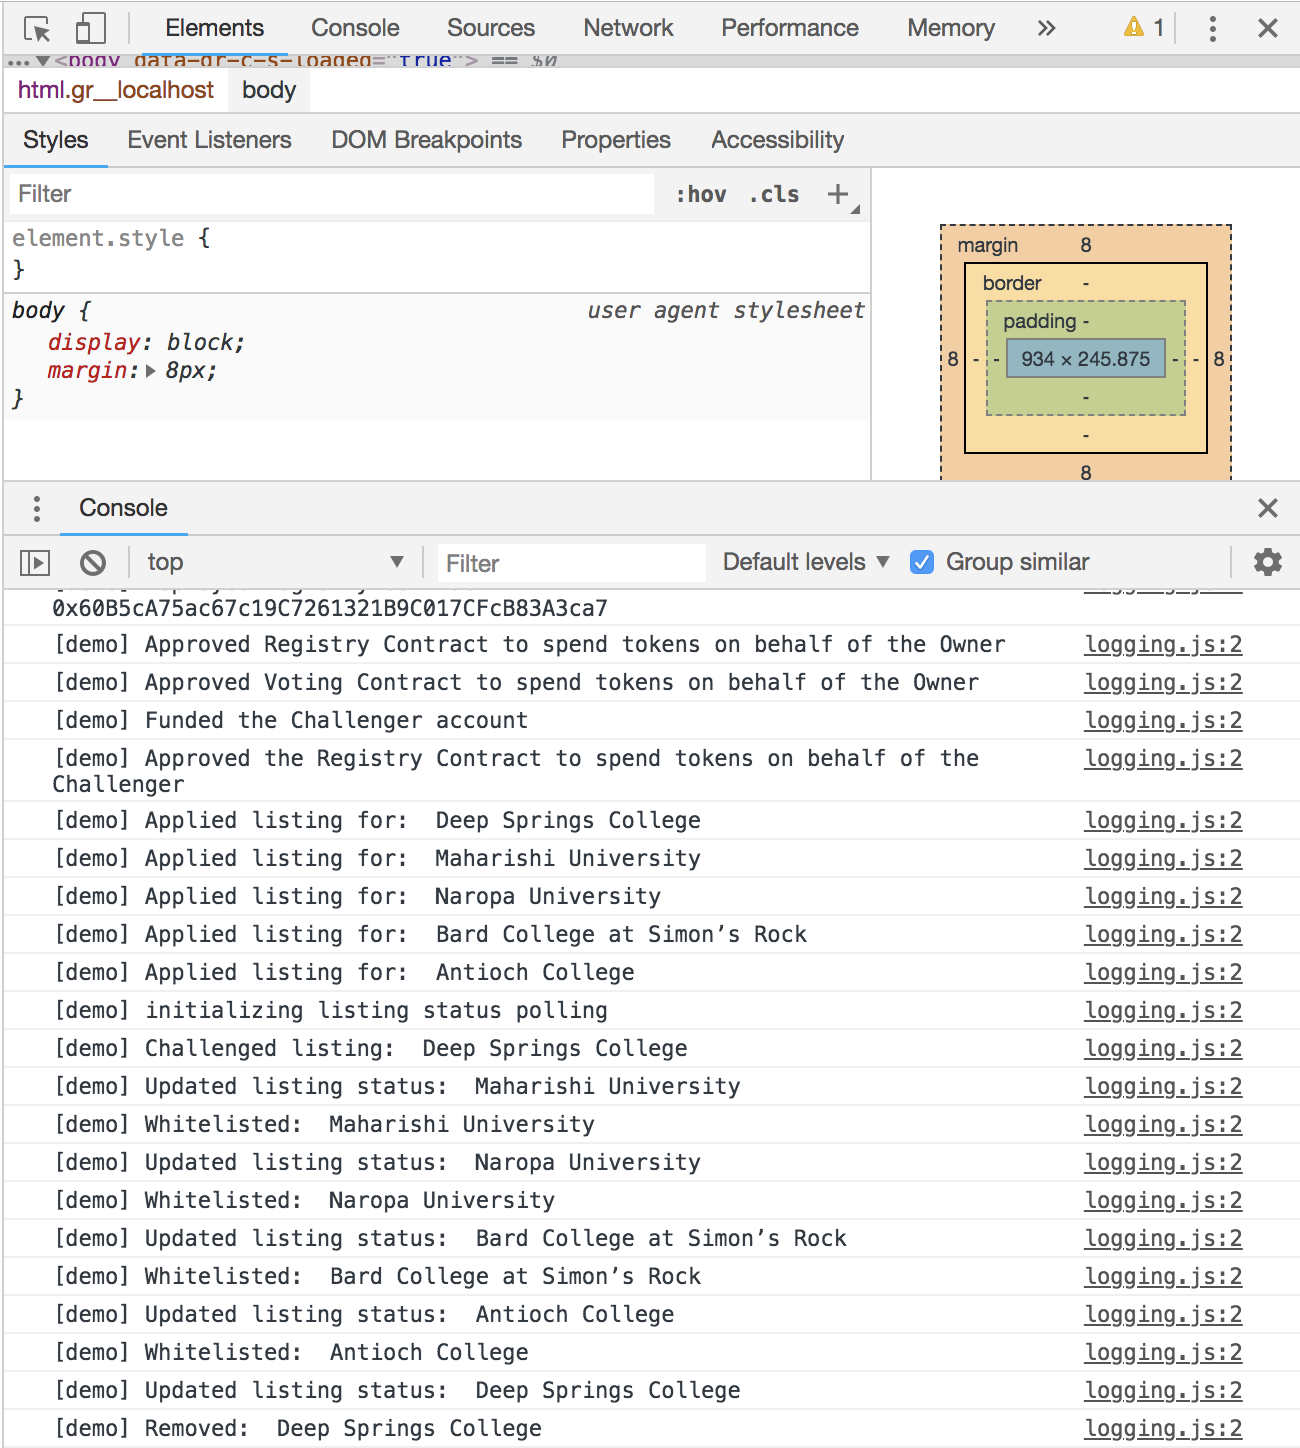
You can see the TCR events such as submitting a listing candidate, voting, and removing a listing candidate by accessing our logs. Open your browser's Developer Tools and you will see:
Congratulations, you've just successfully run the DApp for Creating a University Database!